Why Your Dough Isn't Rising and How to Fix It

Nearly 30% of home bakers report that their bread fails to rise even when following a standard recipe. This isn't just bad luck; it's usually a measurable chemical or environmental failure. Understanding the mechanics of yeast and hydration determines whether you get a light, airy loaf or a dense, heavy brick. This guide covers the variables that dictate dough structure, from water temperature to the specific role of flour protein.
When you mix flour and water, you aren't just making a paste. You are initiating a complex biological process. If the temperature is too low, the yeast stays dormant; if it is too high, you actually kill the living organisms. Most people treat baking like a static checklist, but it's more like managing a living ecosystem. If you want consistent results, you have to look at the variables that affect the dough's ability to trap gas.
Is Your Yeast Dead or Just Sleeping?
The most common reason for a flat loaf is inactive yeast. Yeast is a living organism—a single-celled fungus—that feeds on sugars and releases carbon dioxide. If your yeast has expired or if you used water that was too hot during the mixing stage, the gas production will be non-existent. You can check the vitality of your yeast by performing a simple test: mix a teaspoon of sugar with warm water and a packet of yeast. If it doesn't become frothy and bubbly within ten minutes, toss it. It's not worth the wasted flour.
Temperature is the invisible hand in baking. For a successful rise, your environment needs to be warm, but not hot. The ideal temperature for most commercial yeast is between 75°F and 85°F. If your kitchen is freezing, your dough will take much longer to rise—sometimes several hours longer than the recipe suggests. You can use a digital thermometer to ensure your liquids are in the safe zone. According to the King Arthur Baking community, even a few degrees of difference can change the texture of the crumb entirely.
Why Does My Dough Feel Too Sticky to Work?
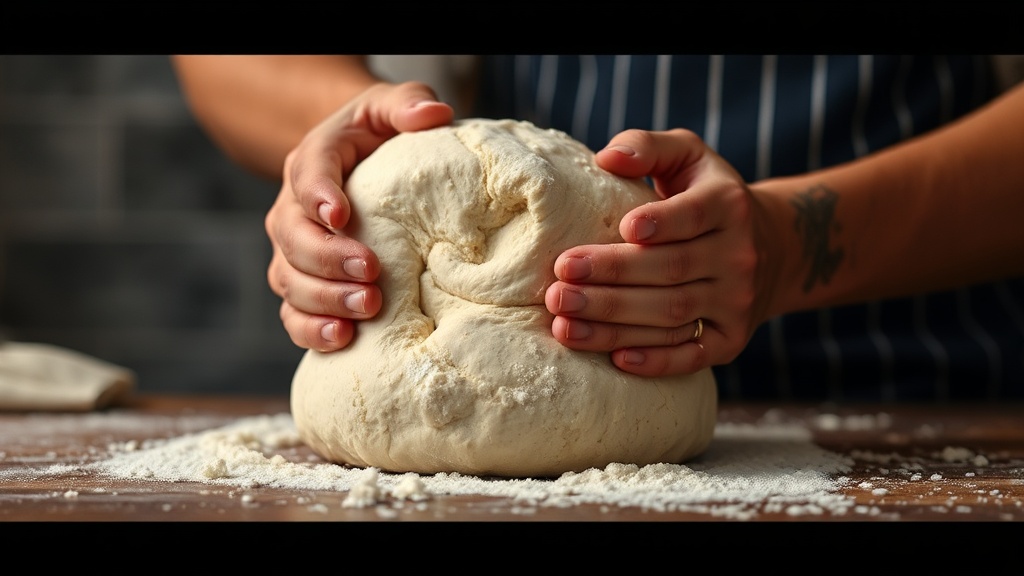
Sticky dough is often a sign of improper hydration or insufficient gluten development. Hydration refers to the ratio of water to flour. A high-hydration dough (more water) results in an open, airy crumb, but it is significantly harder to handle for beginners. If your dough looks like a puddle rather than a cohesive mass, you've likely added too much liquid or used a flour with a low protein content.
Gluten is the structural framework of your bread. It is formed when two proteins found in wheat—glutenin and gliadin—are hydrated and stretched. This is why kneading or using specific techniques like the "slap and fold" method is necessary. Without a strong gluten network, the carbon dioxide bubbles produced by the yeast will simply pop, leaving you with a flat, dense loaf. If you find your dough is too sticky to manage, try the "autolyse" method: let the flour and water sit for 30 minutes before adding salt or yeast. This allows the flour to fully absorb the liquid and starts the gluten development process naturally.
| Problem | Likely Cause | Quick Fix |
|---|---|---|
| Dense, heavy bread | Yeast is dead or water too hot | Test yeast in warm water first |
| No structure/flat loaf | Low protein flour used | Switch to Bread Flour (High Protein) |
| Extremely sticky dough | Too much water/Hydration too high | Add flour in small increments |
| Cracked crust | Oven temperature too low | Preheat oven thoroughly |
How Can I Get a Better Crumb Structure?
The "crumb" is the internal texture of the bread. A tight, uniform crumb is great for sandwich bread, while an irregular, large-hole crumb is the hallmark of artisan sourdough. To get better results, you need to focus on the degassing process. If you over-knead or over-work the dough after the initial rise, you might deflate the air pockets you worked so hard to create.
Salt is another misunderstood ingredient. While it might seem like it's just for flavor, salt actually regulates yeast activity. It slows down fermentation, which prevents the yeast from eating through all the sugars too quickly. This results in a more controlled, steady rise. If you forget the salt, your dough might rise too fast and then collapse. For more technical details on dough rheology, the Science of Cooking resources offer great deep-dives into how molecular structures change during baking.
Lastly, consider your shaping technique. How you fold the dough before the final proof determines how much tension the loaf can hold. High tension is what allows a loaf to rise upward rather than spreading out wide on the baking sheet. If you shape your dough too loosely, the gas will escape through the sides, and you'll end up with a pancake instead of a boule. Practice your folding techniques—whether it's a coil fold or a stretch and fold—to build that much-needed strength.
Consistency in baking comes from controlling the variables. Don't just follow the clock; follow the dough. If the recipe says "rise for one hour," but your dough hasn't doubled in size, don't put it in the oven yet. The dough tells you when it's ready, not the timer. Keep an eye on the volume, the feel of the dough, and the smell of the fermentation. That is how you move from a hobbyist to someone who can reliably produce professional-grade bread in a home kitchen.