Creating Your Own Infused Finishing Oils

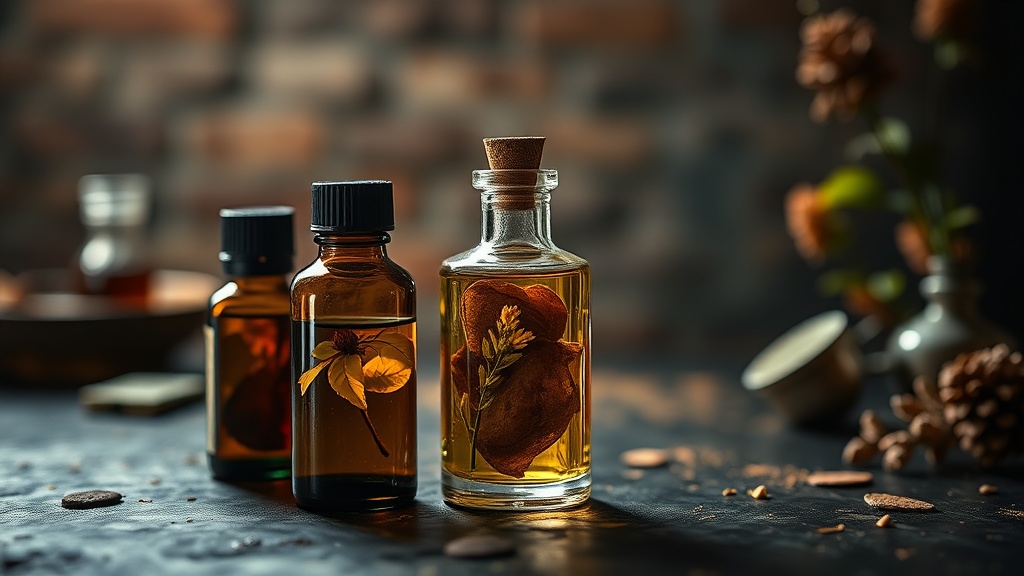
A single drop of bright green basil oil or a swirl of smoky chili oil can transform a plain bowl of pasta or a simple piece of grilled fish into something spectacular. This post explores the methods, safety protocols, and equipment needed to create your own infused finishing oils at home. You'll learn how to choose the right base oils, how to infuse flavors without risking foodborne illness, and how to store your creations so they stay fresh and flavorful.
Infused oils are a staple in high-end kitchens, but they don't require a professional degree to master. You just need a bit of patience and a respect for food safety. Most people think they need expensive laboratory equipment, but a simple glass jar and a heat source will do the job just fine.
What Is the Safest Way to Infuse Oil?
The safest way to infuse oil at home is by using the heat-infusion method or by using fully dried ingredients to prevent bacterial growth. While fresh herbs smell amazing, they carry moisture and organic matter that can lead to Clostridium botulinum—the bacteria responsible for botulism—if not handled correctly. If you aren't comfortable with strict temperature control, stick to dried spices or herbs that have been thoroughly dehydrated.
For those who want to use fresh ingredients, the "cold infusion" method is an option, but it comes with a strict shelf-life rule. You should keep these oils in the refrigerator and use them within a week. If you want something that can sit in your pantry, you must use the heat method to drive off moisture or use ingredients that are completely dry.
Here is a quick breakdown of the two main methods:
- The Heat Method: You gently warm the oil and aromatics together in a heavy-bottomed saucepan. This speeds up the extraction of oils and flavors from the ingredients.
- The Cold Method: You combine oil and aromatics in a jar and let them sit at room temperature. This is slower and carries a higher risk if you use fresh, wet ingredients.
If you've ever experimented with making your own fermented hot sauce, you already understand the importance of managing moisture and acidity. Infusing oil is a different beast because oil is an anaerobic environment (meaning it has no oxygen), which is exactly where certain bacteria thrive. Never skip the drying step if you use fresh garlic or herbs.
Which Base Oil Should I Use?
The best base oil depends entirely on the flavor profile you want to achieve and the temperature at which you'll serve the oil. Neutral oils like grapeseed or avocado oil are perfect for subtle infusions, while olive oil provides a rich, buttery foundation for Mediterranean flavors.
When choosing an oil, consider the smoke point. If you plan to use your infused oil for cooking rather than just a finishing touch, you need a high smoke point. If it's strictly for drizzling over a finished dish, you have much more creative freedom.
| Oil Type | Flavor Profile | Best Use Case |
|---|---|---|
| Extra Virgin Olive Oil | Rich, peppery, fruity | Drizzling over pasta, bread, or roasted vegetables. |
| Grapeseed Oil | Neutral, light | Infusing delicate herbs like thyme or rosemary. |
| Avocado Oil | Very neutral, buttery | High-heat infusions or using with spicy peppers. |
| Sweet, tropical | Curry-based infusions or dessert toppings. |
Don't go overboard with the expensive stuff if you're just going to heat it up. A high-quality extra virgin olive oil is wonderful for a finishing touch, but if you're doing a long, low-temperature heat infusion, you might find it's better to use a more stable, mid-range oil to preserve your expensive oil for eating straight. It's a waste to heat a $40 bottle of oil just to turn it into a garlic oil.
How Do I Prevent Botulism in Infused Oils?
You prevent botulism by ensuring that your ingredients are either completely dry or that the oil is stored under refrigeration. The CDC provides extensive information on the risks of home-prepared foods, and the main takeaway for oil enthusiasts is that moisture is the enemy.
When you use fresh garlic, shallots, or herbs, you are introducing water into the oil. In an airtight container, that water and the lack of oxygen create a perfect breeding ground for bacteria. To stay safe, you can either:
- Dehydrate everything: Use a dehydrator or an oven on the lowest setting to ensure your garlic or herbs are brittle before they touch the oil.
- Use the Refrigerator: If you insist on using fresh ingredients, make small batches and keep them in the fridge. Use them up within 4 to 7 days.
- Acidify: While more common in vinegar, adding a tiny amount of acid can help, though this is tricky with oil.
I usually recommend the "Dry Method" for anyone who wants to make a batch of chili oil or herb oil that can sit on the counter. It's just safer. If you use the heat method, make sure you aren't boiling the oil. You want a gentle simmer—around 180°F to 200°F (82°C to 93°C)—to extract the essence without burning the aromatics or the oil itself.
Essential Gear for Oil Infusion
You don't need a specialized kit, but having the right tools makes the process much cleaner. A thermometer is a non-negotiable item here. If you're heating your oil, you need to know exactly what temperature you're hitting to avoid a fire or a bitter, burnt taste.
A digital instant-read thermometer (like a Thermapen or a more budget-friendly version) is your best friend. Also, a fine-mesh strainer or cheesecloth is necessary for removing the solids. If you leave the bits in the oil, they will eventually degrade and turn your oil rancid.
Once your infusion is complete, pour the oil through a coffee filter or a very fine cheesecloth into a clean, sterilized glass jar. This removes the tiny particles that might cause the oil to go bad faster. A glass bottle with a tight-sealing lid is the best way to store the finished product. Avoid plastic if possible, as some oils (especially those with high acidity or spice) can react with certain types of plastic over time.
If you're looking to refine your pantry skills, you might already be familiar with the precision needed for other homemade staples. For instance, if you've mastered making homemade cultured butter, you'll find the attention to detail in temperature control very similar.
One thing to watch out for: the smell. When you're heating aromatics like garlic or onions, the scent will fill your entire kitchen. It's not a bad smell, but it's intense. Make sure your ventilation is working well before you start the heating process.
The final step is labeling. It sounds simple, but it's the most important part of the process. Write the date, the ingredients, and the type of oil used. If you're using the refrigerator method for fresh-ingredient oils, write "Use within 7 days" in big, bold letters. You'll thank yourself a month from now when you're looking at a jar of mystery liquid and can't remember if it's garlic oil or just old oil.